
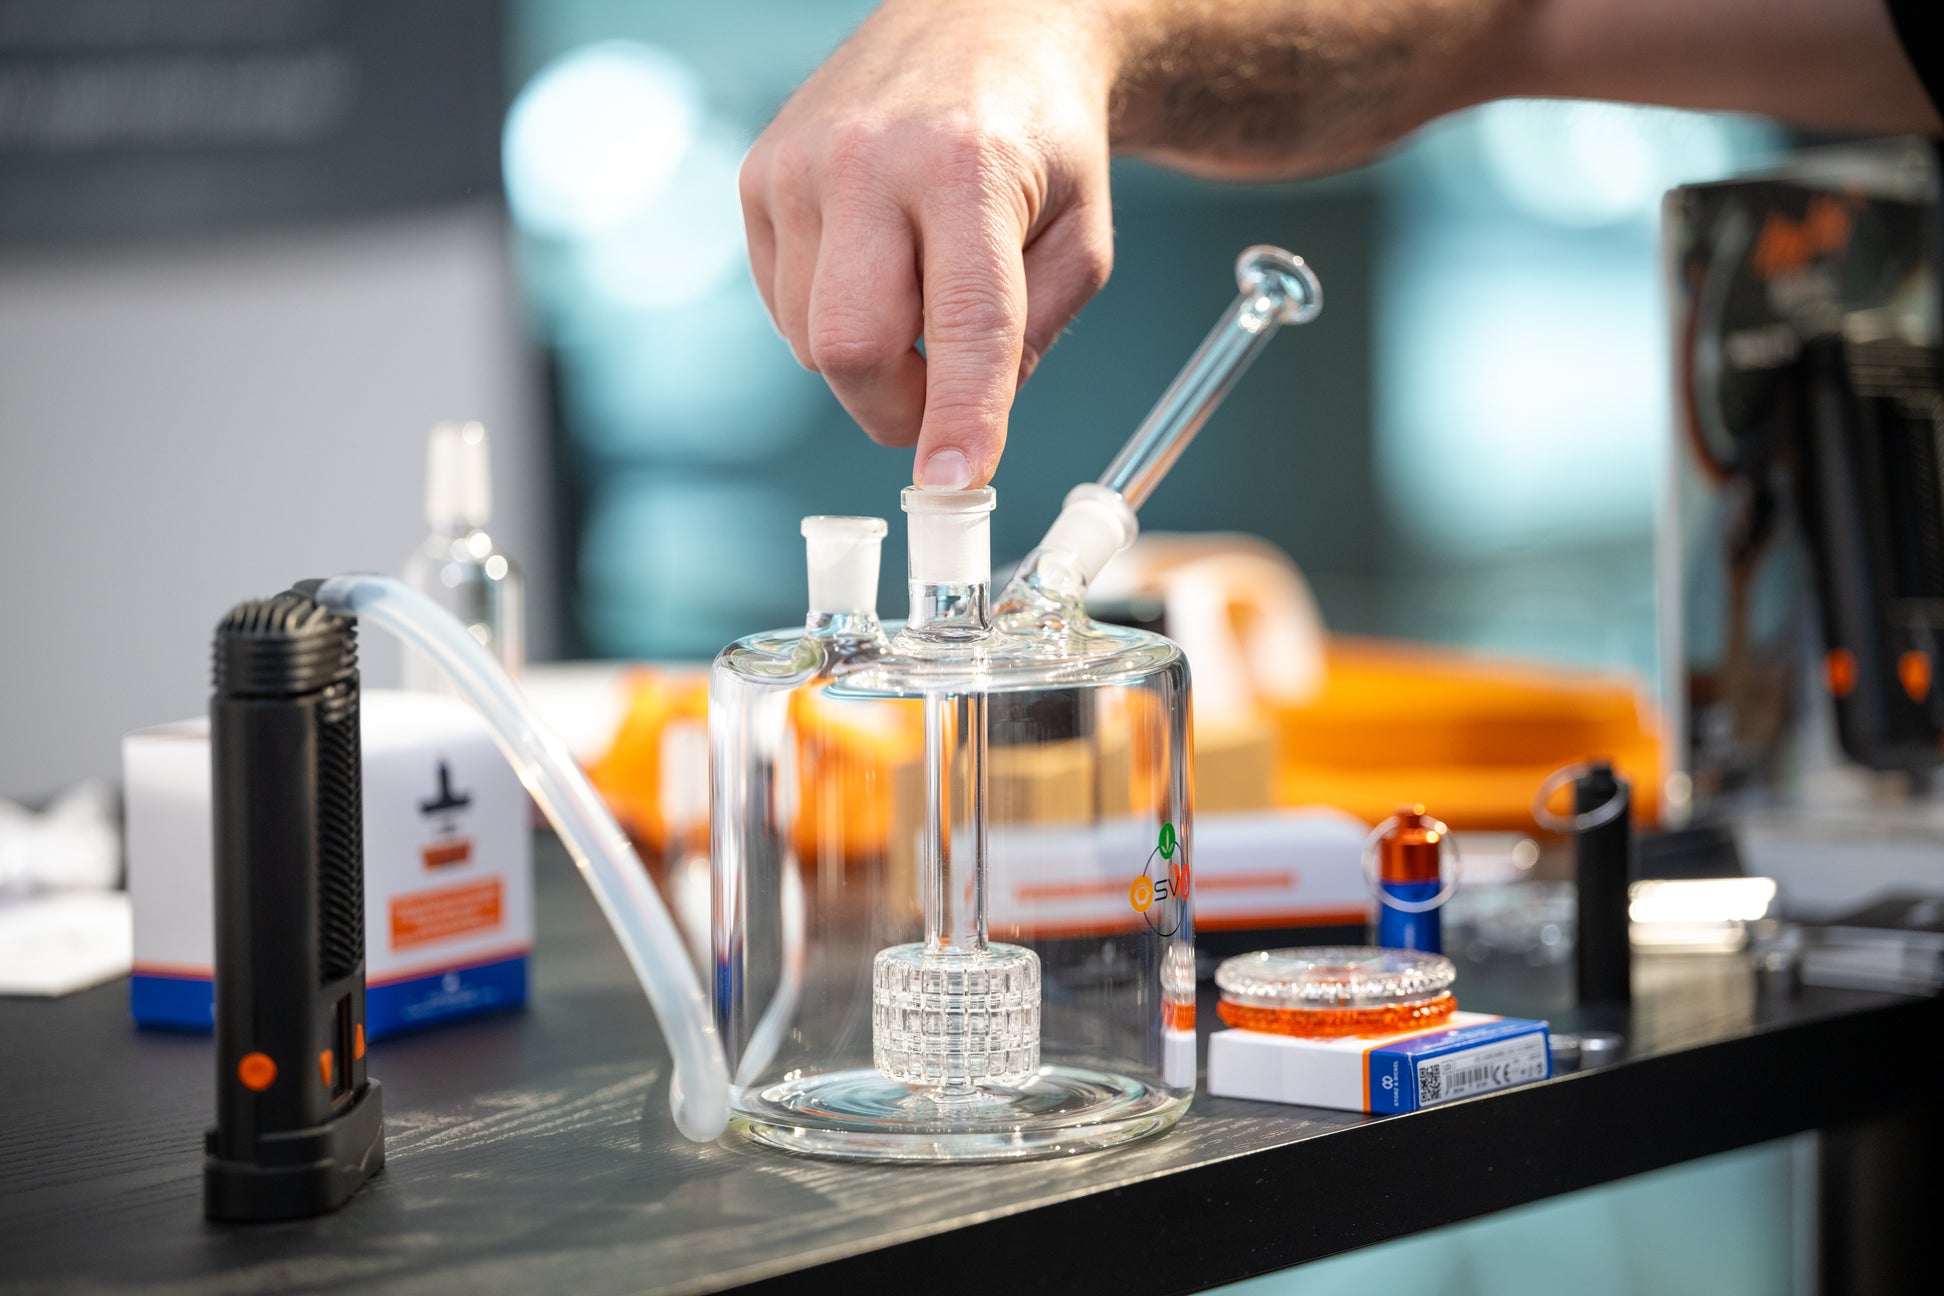
Keeping your dry herb vaporizer clean is essential for maintaining good performance, smooth airflow, and the best possible flavor. Over time, residue from herbs can build up inside the chamber, mouthpiece, and airpath. If the device is not cleaned regularly, this buildup can affect vapor quality, restrict airflow, and even shorten the lifespan of the vaporizer. Proper cleaning is simple and only requires a few basic tools and a little routine maintenance dry herb vape.
Why Cleaning Your Vaporizer Is Important
Regular cleaning improves both the performance and the taste of your vaporizer. When residue accumulates in the heating chamber or airpath, it can block airflow and make the vapor feel harsh or weak. A clean vaporizer ensures that heat is distributed evenly and that the vapor remains smooth and flavorful.
Cleaning also helps prevent sticky buildup that can make parts difficult to remove. By keeping the device clean, you can extend its life and avoid potential damage caused by residue or overheating.
Basic Tools You Will Need
Before starting the cleaning process, gather a few simple supplies. These tools will make the process easier and more effective:
-
Isopropyl alcohol (usually 70% or higher)
-
Cotton swabs or cotton buds
-
Small cleaning brush (many vaporizers include one)
-
Soft cloth or paper towels
-
Warm water
Having these items ready will allow you to clean the vaporizer quickly and safely.
Step 1: Turn Off and Cool the Device
Before cleaning, always turn off the vaporizer and allow it to cool completely. Cleaning a hot device can be dangerous and may damage internal components. Once the vaporizer has cooled down, you can begin disassembling the removable parts.
Step 2: Empty the Herb Chamber
Open the heating chamber and remove any leftover herb material. A small cleaning brush can be used to gently sweep out loose particles. It is best to do this step after every session to prevent buildup from forming.
Regularly brushing out the chamber keeps the device cleaner and reduces the need for deep cleaning later.
Step 3: Clean the Chamber
If residue has built up inside the chamber, lightly dip a cotton swab in isopropyl alcohol and gently wipe the interior surfaces. Avoid soaking the chamber with alcohol, as too much liquid can damage the device.
After wiping the chamber, allow it to dry completely before using the vaporizer again.
Step 4: Clean the Mouthpiece
The mouthpiece is one of the parts that collects the most residue. Many vaporizers have removable mouthpieces that can be soaked in warm water or lightly cleaned with alcohol.
Use a cotton swab or small brush to remove any sticky buildup. After cleaning, rinse with warm water if needed and allow the mouthpiece to dry fully before reattaching it.
Step 5: Clean the Airpath
The airpath is where vapor travels from the heating chamber to the mouthpiece. Over time, small amounts of residue can accumulate here as well.
A cotton swab or pipe cleaner slightly dampened with alcohol can be used to gently clean this area. Be careful not to push residue deeper into the device.
Step 6: Let All Parts Dry Completely
After cleaning, it is very important to allow every component to dry completely before reassembling the vaporizer. Alcohol evaporates quickly, but any remaining moisture should be gone before turning the device back on.
Reassembling the device too early could affect performance or damage internal electronics.
Step 7: Reassemble and Test the Device
Once all parts are dry, reassemble the vaporizer and turn it on. Some users like to run the device at a medium temperature for a few minutes with an empty chamber. This helps remove any remaining cleaning residue and prepares the vaporizer for the next session.
How Often You Should Clean Your Vaporizer
Light cleaning, such as brushing out the chamber, should ideally be done after each session. A deeper cleaning that involves wiping parts with alcohol can be done every few uses or once a week depending on how often the vaporizer is used.
Regular maintenance prevents heavy buildup and keeps the vaporizer performing at its best.
Final Thoughts
Cleaning your dry herb vaporizer properly is a simple but important habit. Regular maintenance improves flavor, keeps airflow smooth, and helps the device last longer. By taking a few minutes to clean the chamber, mouthpiece, and airpath, you can ensure that every session remains enjoyable and efficient.